
7 Tips for Choosing the Right Bucket Teeth?
Choosing the right Bucket Teeth is a practical decision, not a simple parts purchase. Tooth shape, adapter fit, ground conditions, and machine power all influence performance. A tooth that works well in loose sand may struggle against compacted clay or fractured rock. The wrong choice can cause slow digging, uneven wear, and unnecessary fuel use.
Equipment consultant Michael Brennan advises, “A good tooth matches the ground before it matches the catalog.” That principle deserves attention. A sharp penetration tooth may enter hard soil quickly, but it can wear faster in abrasive gravel. A heavier rock tooth offers stronger protection, yet it may reduce digging efficiency in softer ground. Small details matter, including pin security, heel clearance, nose wear, and the bucket’s working angle.
This guide presents seven practical tips for selecting Bucket Teeth with greater confidence. It considers tooth profiles, material strength, operating conditions, and replacement timing. It also explains why brand compatibility and accurate measurements should never be assumed. A bucket tooth can look correct and still fit poorly.
Field experience remains valuable. Check the worn tooth after each shift. Look for rounded tips, cracked corners, or excessive adapter movement. Take photographs before ordering replacement parts. Mistakes happen, even on experienced crews. That is why selection should combine manufacturer data, operator observations, and advice from a qualified parts specialist. The best choice is not always the most expensive one. It is the tooth that delivers dependable penetration, secure fitment, and balanced wear for the actual job.
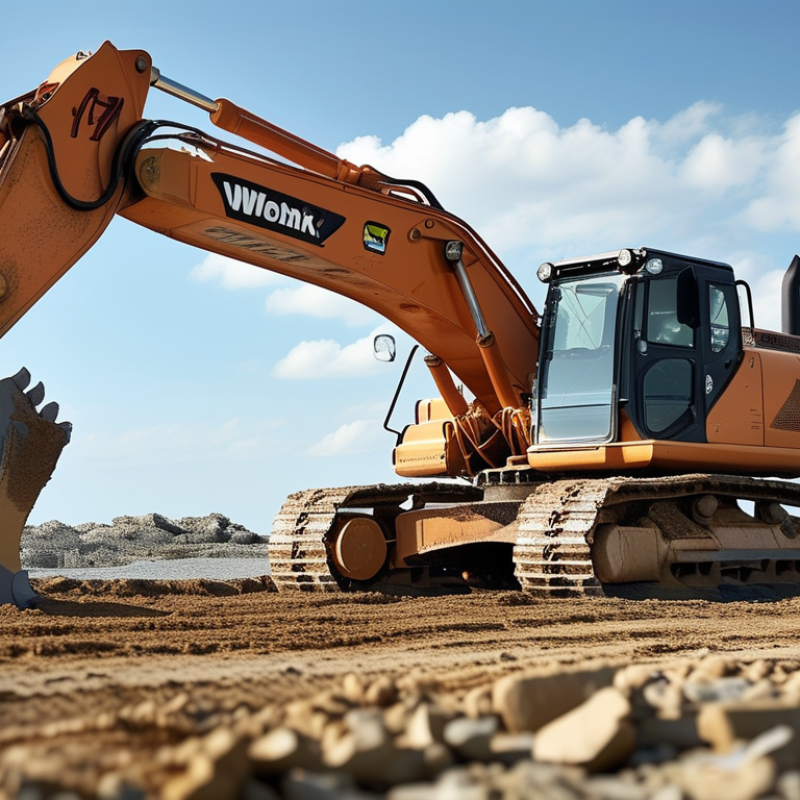
Identify the Excavator’s Working Conditions and Ground Type
Choosing the right bucket teeth starts with understanding the excavator’s working conditions and ground type. A tooth that performs well in loose soil may struggle badly in compacted clay or fractured rock. Observe the site before selecting a profile. Is the ground dry, wet, abrasive, frozen, or mixed with broken concrete?
Loose sand usually requires teeth that penetrate smoothly without creating unnecessary resistance. Sticky clay needs a shape that sheds material and reduces packing around the tooth. Hard rock demands stronger penetration points and greater impact resistance. Abrasive gravel can wear the leading edge quickly, even when digging feels easy.
Machine size matters too. Check the excavator’s operating weight, hydraulic power, and bucket capacity. Oversized teeth may reduce digging efficiency and place extra stress on the adapter and bucket lip. Undersized teeth can wear rapidly under heavy impact. Keep records of tooth wear, digging hours, and soil conditions. Small details often reveal the better choice.
I once saw a crew select sharp teeth for ground that looked like ordinary soil. Below the surface, packed stone caused rapid tip damage. The mistake was not the tooth alone; the ground survey was incomplete. A short test cycle can expose this problem early. Ask a qualified technician to inspect fit, locking parts, and wear patterns before full production begins. Conditions can change within the same jobsite, so the selection may need review after rain, excavation depth changes, or unexpected buried material.
Match Tooth Design to Digging, Loading, or General-Use Tasks
7 Tips for Choosing the Right Bucket Teeth?
Match Tooth Design to Digging, Loading, or General-Use Tasks
Choosing bucket teeth starts with the material, not the machine. For hard clay, compacted soil, or fractured rock, select a narrow, penetrating tooth with a strong point. Its shape helps break resistance before the bucket fills. For loose soil and sand, use a wider tooth that supports faster loading. Check tooth length, because excessive length can reduce breakout force. Shorter teeth often suit dense ground and repeated impact.
Inspect the working edge before every shift. A rounded point usually indicates poor penetration and higher fuel use. Replace severely worn adapters too. A loose fit can damage the tooth pocket and create uneven digging. Match the tooth system to the bucket nose, pin, and expected load. Small differences matter.
General-use work needs balance. Choose a medium-profile tooth when the bucket handles soil, gravel, and occasional clay. It may not excel in extreme rock. That is an honest limitation. I once favored an aggressive point for mixed ground, but it wore quickly during loading cycles. The better choice was a moderate profile with replaceable wear parts. Also consider tip visibility from the cab, tooth spacing, and local service access. The best design is the one that penetrates cleanly, fills efficiently, and remains secure throughout the task.
Choose the Correct Tooth Size, Shape, and Adapter System
Choosing the correct bucket tooth starts with the machine manual and the adapter dimensions. Match the tooth size to the excavator’s operating weight and bucket capacity. An oversized tooth may reduce digging efficiency and increase stress on the lip. A small tooth can wear quickly under heavy loads. Check the tooth opening, pin diameter, nose length, and retaining method before ordering. Measure the old parts when records are unclear.
Shape should reflect the working ground. A sharp, narrow tooth penetrates compact soil and fractured rock with less initial resistance. A wider tooth suits general excavation and leaves a flatter trench floor. Long teeth can improve reach, but they may bend under side loading. For abrasive sand or blasted rock, choose a reinforced profile with enough material behind the tip. Wet clay needs a shape that releases material instead of carrying a heavy plug. Conditions change, sometimes within the same site.
The adapter system deserves equal attention. The tooth must seat fully against the adapter nose, with no visible gap or rocking movement. Pin and retainer components should match the system exactly. Mixing similar-looking parts is a common and costly mistake. Inspect the adapter nose, bucket lip, and side cutters before installing new teeth. A new tooth will not perform well on a worn adapter. I have also seen operators choose the hardest option, then overlook penetration speed and fuel use. That choice can require reconsideration. Record wear after each shift, especially at the tip, heel, and locking area.
Compare Wear Resistance, Penetration, and Maintenance Needs
7 Tips for Choosing the Right Bucket Teeth
Choose teeth by material, not appearance.
Tip one: identify whether the job involves clay, blasted rock, gravel, or recycled aggregate. The USGS Mineral Commodity Summaries 2024 reported about 1.9 billion metric tons of crushed stone produced in the United States in 2023. That volume reflects how severe aggregate wear can become.
Tip two: compare alloy hardness and toughness together. Harder steel can resist abrasion, but excessive hardness may increase cracking under impact.
Tip three: select a narrow, sharp profile when penetration matters. It enters compacted soil more easily and may reduce hydraulic effort. Broader profiles usually last longer in abrasive ground.
Tip four: inspect the adapter fit before judging tooth performance. Movement at the nose accelerates uneven wear.
Tip five: check the wear indicator during every shift. Waiting for a tooth to disappear can damage the adapter and increase replacement time. ASTM G65 Procedure A measures abrasive wear using 6,000 revolutions and a controlled sand wheel test. Laboratory results help, but they cannot fully copy field impact.
Tip six: compare maintenance needs, including pin access, rotation intervals, and replacement time. A cheaper tooth may cost more when downtime is frequent.
Tip seven: record fuel use, cycle time, and tooth hours.
A useful admission: the first choice is often wrong. Material changes, operator technique, and moisture can alter penetration and wear within the same site. Replace one tooth set earlier than expected, then review the measurements before changing the entire system.
Verify Fit, Manufacturer Quality, and Total Operating Cost
Choosing the right bucket teeth starts with verifying fit, not appearance. A tooth can look correct and still fail during the first shift. Measure the adapter nose, pin diameter, locking groove, and tooth profile before ordering. Compare those measurements with technical drawings, not a rushed phone photograph. Test the fit by hand. It should seat fully, without rocking or forcing the lock. A loose tooth wastes fuel and can damage the adapter.
Manufacturer quality deserves evidence, not attractive claims. Ask for material specifications, heat-treatment records, inspection standards, and traceable batch information. Reliable suppliers should explain hardness ranges and toughness targets for your soil conditions. Inspect sample teeth for even casting, clean locking surfaces, and consistent pin holes. Small flaws matter. I once accepted a low-priced set without checking the locking system carefully. The teeth wore quickly, and fitting labor erased the initial saving. That decision looked efficient. It was not.
Calculate total operating cost across a complete digging cycle. Include purchase price, fitting labor, fuel use, downtime, replacement frequency, and adapter damage. A cheaper tooth may cost more when workers stop a machine beside a trench. Track operating hours before replacement on similar ground. Record penetration, wear shape, and fuel consumption. Do not trust one test. Rocky ground, frozen soil, and abrasive sand can produce different results. Review the records with the operator, because practical observations often reveal problems that a product sheet misses.